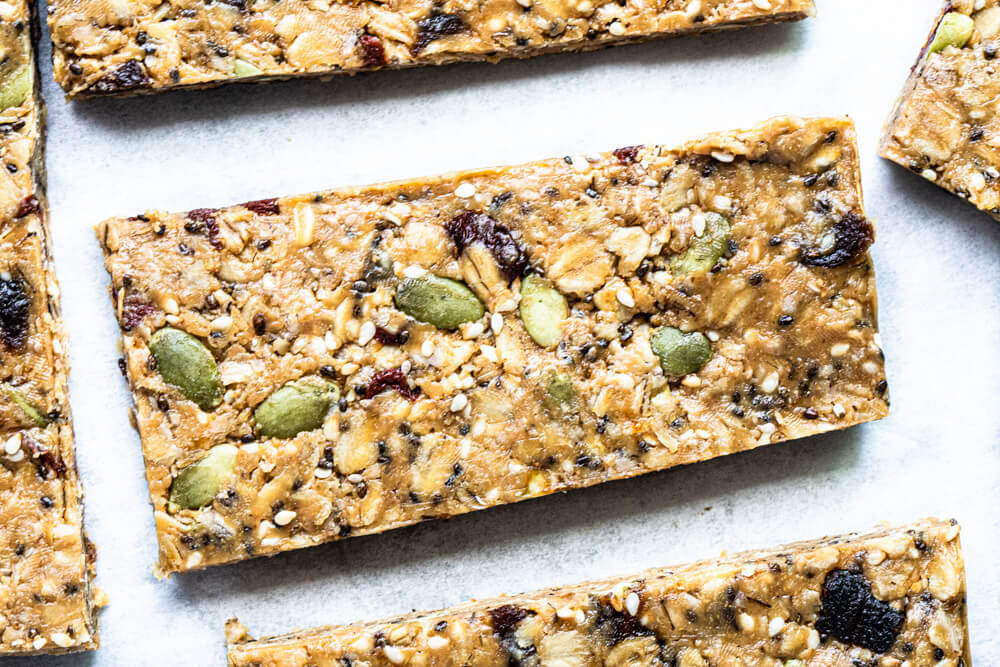
Make your own healthy snack bars at home in just a few minutes. No baking required. Easily customizable. No crappy ingredients + no wasteful packaging. Gluten free with vegan + nut free options.
Perusing the snack bar aisle at my local health food store, I see excess packaging, questionable ingredients, and expensive price tags.
So I like to make my own.
Every week, I’ve been making a different healthy snack to have on hand for school lunches and for easy snacking. Our current favs are lunch box cookies and peanut butter pumpkin energy balls.
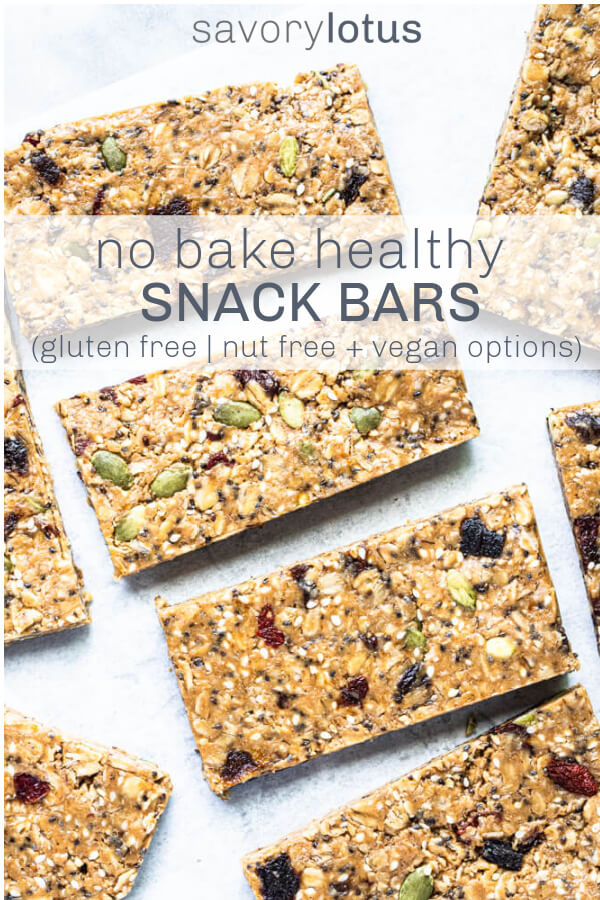
This week, I’m sharing a simple, no bake recipe for healthy snack bars loaded with dried fruit and seeds. So good!
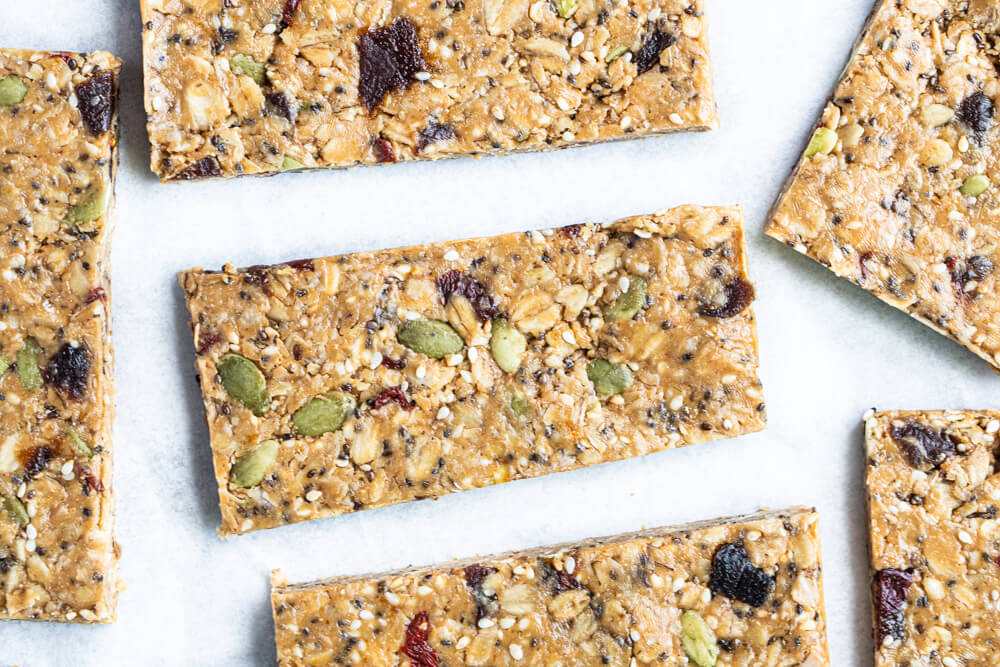
What’s in healthy snack bars?
Just a few simple pantry ingredients.
❤️ gluten free oats (I like THIS sprouted brand)
❤️ honey or maple syrup (use maple syrup for vegan)
❤️ nut butter (or sunflower butter or tahini for nut free option)
❤️ seeds (like pumpkin, sesame, chia, flax, or sunflower)
❤️ dried fruit (like apricots, raisins, cranberries, dates, figs, etc.)
❤️ salt
The best thing about these bars is that they are like a snack bar chameleon. Super versatile. You can add in whatever makes you happy .
Other optional add-ins could be:
- mini chocolate chips
- unsweetened shredded coconut
- chopped nuts
NOTE: Soaked and sprouted grains, nuts, and seeds are always my preference if possible. This helps with better digestion.
How to make healthy snack bars
Step 1: mix together oats + salt
Step 2: melt together nut butter and honey/maple syrup
Step 3: add oats to wet mixture and stir until well combined.
Step 4: fold in seeds + dried fruit (and any other optional add-ins)
Step 5: press mixture into 8×8 baking pan + place in fridge to set
Step 6: cut into desired sized bars + enjoy
What do they taste like?
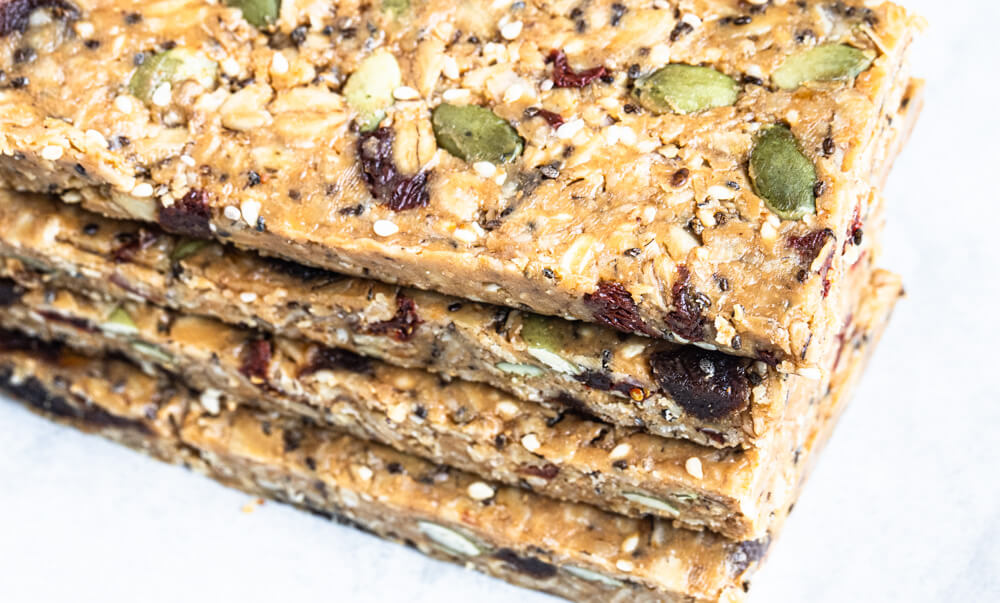
These bars are not your traditional crispy granola bar. The texture is soft + chewy with just the right amount of sweetness. The flavor depends on the nut or seed butter you use and also the add-ins you choose.
We like them best cold out of the freezer, but they can absolutely be packed in a school lunch box. The texture will just be a bit softer.
How to store health snack bars
Store these yummy bars in the fridge, covered for up to a week.
We like to freeze them in a single layer then store them in reusable silicone bags. I use parchment paper in between the layer.
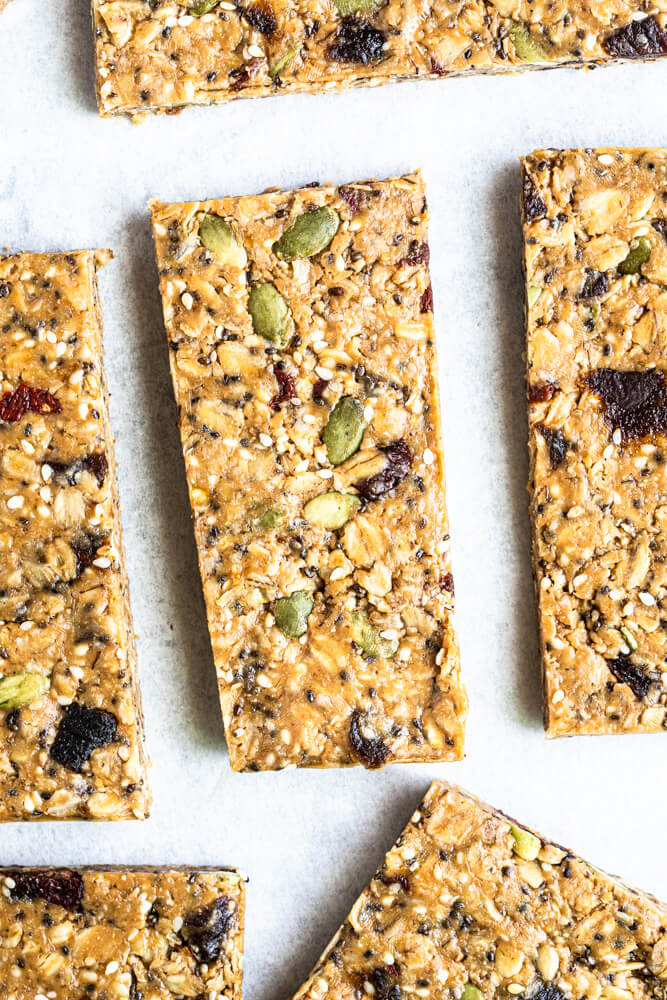
happy back to school, my sweet friend! ❤️
xx,
Katja
DID YOU MAKE THIS AND LOVE IT? I WANT TO SEE YOUR CREATIONS. SHARE THE LOVE ON INSTAGRAM AND TAG @savorylotus AND USE THE HASHTAG #savorylotus FOR A CHANCE TO BE FEATURED. FOLLOW SAVORY LOTUS ON PINTEREST AND FACEBOOK TO KEEP UP WITH LATEST CONTENT AND UPDATES.
Print
No Bake Healthy Snack Bars
Description
Soft + chewy homemade snack bars. No baking required. Easily customizable. No crappy ingredients + no wasteful packaging. Gluten free with vegan + nut free options.
Ingredients
- 1 and 1/2 cup gluten free oats (I like THIS sprouted brand)
- 1/4 tsp salt
- 1/2 cup nut butter (or sunflower butter or tahini for nut free option)
- 1/4 cup maple syrup or honey (use maple syrup for vegan)
- 3 tbsp seeds (like pumpkin, sesame, chia, flax, or sunflower)
- 3–4 tbsp chopped dried fruit (like apricots, raisins, cranberries, dates, figs, etc.)
- optional add-ins: mini chocolate chips, unsweetened shredded coconut, or chopped nuts
Instructions
- Line an 8×8 baking pan with parchment paper.
- In a small bowl, combine oats + salt. Set aside.
- In a double boiler (I use a small glass bowl over a pot of water), gently melt together nut butter + sweetener of choice. Do not over heat. Remove from heat.
- Add oats to wet mixture + mix until well incorporated. Fold in seeds + chopped dried fruit, adding in an extra add-ins. Mix again. For my salt lovers, adjust for salt.
- Press mixture evenly + firmly into prepared baking pan. Place in fridge to set for at least 2 hours.
- Cut into desired sized bars + enjoy. Store covered in fridge for up to a week or freeze for later.
Notes
Soaked and sprouted grains, nuts, and seeds are always my preference if possible. This helps with better digestion.
Chopping your dried fruit and larger add-in helps to keep the bars together and gives a nice texture.
As an Amazon Associate I earn from qualifying purchases.
Very addicting! Just didn’t stay together as well as I had planned. Will try again.
★★★★
Be sure to press them down firmly in the pan before you place in fridge to set. 🙂