How to make ghee at home in just a few easy steps. Golden + delicious. So much cheaper than store-bought.
Every time I post on INSTAGRAM about making sauerkraut or making ghee, I get a ton of questions. So here’s a quick + easy tutorial on how to make the BEST ghee at home in your kitchen.
It’s no secret that I love ghee. It’s a kitchen staple that I make regularly and is my cooking fat of choice. I’m always blown away how expensive it is at the health food store.
Making ghee at home is much easier than you may think. Let me show you how…..
What is ghee?
Ghee is highly clarified butter. It is made by simmering butter to remove the water and milk solids leaving just the butter fat. What you are left with is an easily digestible oil that is rich with flavor. It has its origins in India and to this day is widely used in Ayurvedic medicine because of its healing properties.
The difference between ghee and regular clarified butter is that ghee is cooked longer to remove all of the water content and to lightly brown the milk solids that fall to the bottom of the pan, giving ghee it’s classic nutty flavor.
It can be used for baking, sauteing, frying, roasting, and for any other recipe that may call for butter.
What makes ghee so amazing?
❤️ heat stable…. Ghee has a high smoke point of 485’F, making it perfect for sautéing and frying. It doesn’t burn like butter does because the milk solids have been removed.
❤️ stores well…. removing the milk solids and water makes ghee more shelf stable. It can stay out on the counter for up to a month and lasts in the fridge for up to a year. Be sure to store your ghee in a sealed jar, away from heat and liquids.
❤️ easily digestible…. Ghee is very easy to digest. Because it is free of casein and other milk solids, it is a great option for (most) people with sensitivities to dairy.
❤️ loaded with fat soluble vitamins…. Ghee is full of the fat soluble vitamins A,D, E, and K. Vitamin A and E have been shown to act as powerful antioxidants. Vitamin A and D are critical in immune function. Both Vitamin A and D are important in bone development and health as well.
❤️ gut-healing butyric acid…. both butter and ghee are rich in butyric acid. Consuming butyric acid in foods like ghee or in supplement form has been shown to aid digestion, calm inflammation and improve overall gastrointestinal health.
❤️ tastes amazing…. OK, so maybe I should have put this as number one. It tastes amazing! It’s rich. It’s nutty. It’s delicious.

Is ghee dairy free?
Yes + no. Sort of. It all depends on your level of sensitivity. Simmering the butter allows the milk solids to settle to the bottom and then they are carefully strained out. But it is hard to know if 100% of the casein + lactose have been removed. Many people who have a sensitivity to dairy can easily enjoy ghee.
What type of butter should I use?
Grass fed, organic butter is the BEST choice for making good quality ghee. Commercial butter often has a a higher water content and contains chemicals, antibiotics, + growth hormones.
How do I strain my ghee?
Once your ghee is done cooking, you’ll need to strain out the leftover milk solids. This can be done with fine-mesh strainer with at least a triple layer of cheesecloth inside it or a cotton muslin Thai iced tea filter (my preferred method).
I usually simmer 6 to 10 pounds of butter at a time so the Thai iced tea filter inside of a large jar works great for me. We go through A LOT of ghee in our household.
How to make ghee at home (step by step)
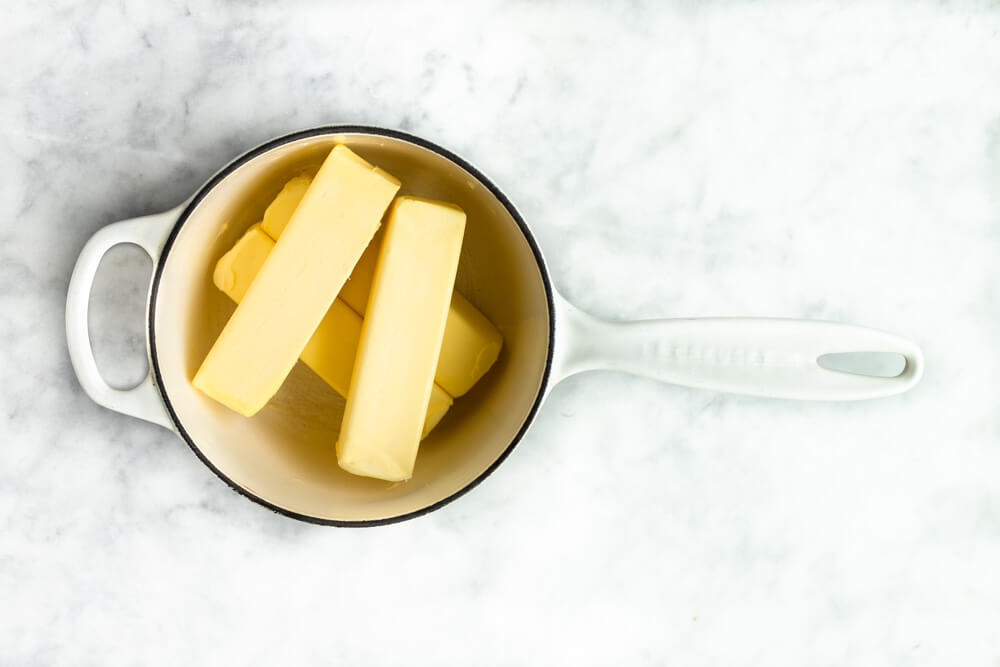
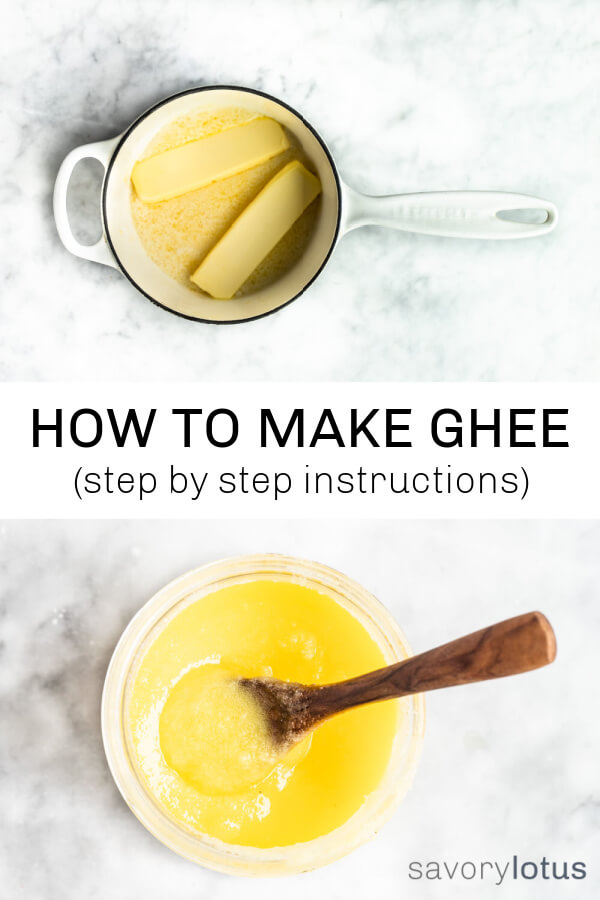
Place butter into a clean/dry pot with a heavy bottom and place over medium heat. Allow butter to melt. Do not stir. Once butter melts and begins to boil and bubble, lower heat slightly to keep butter simmering but not sputtering in the pot.
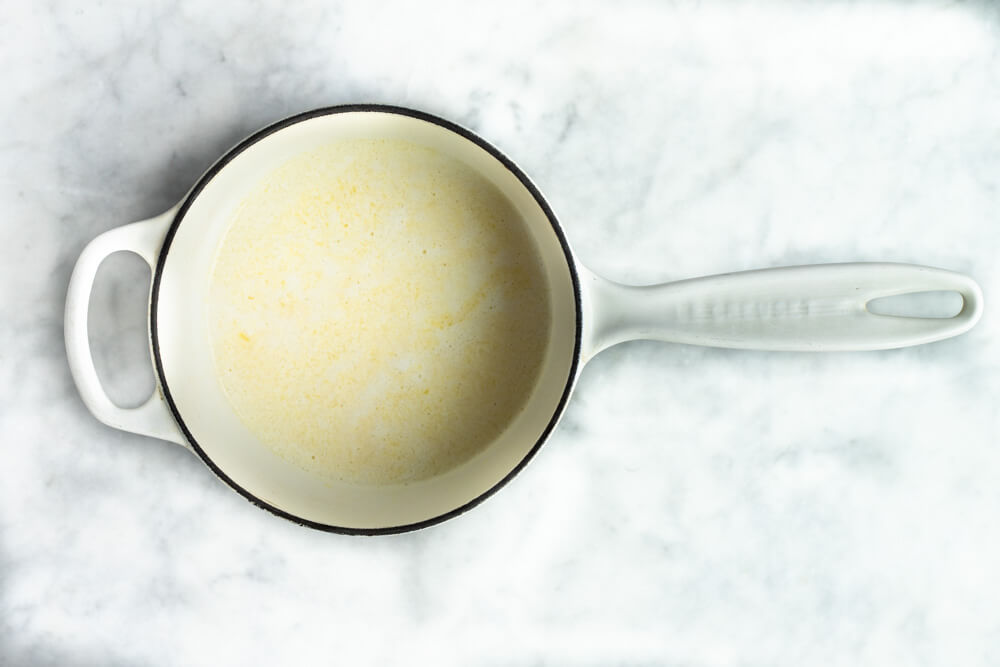
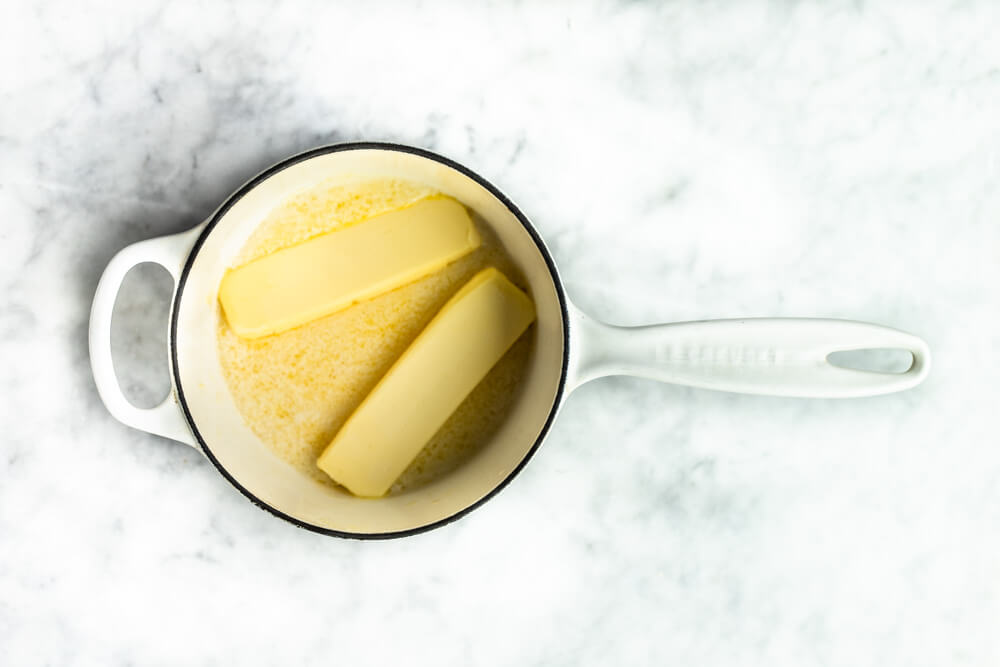
Pretty quickly, the butter will start to separate into three separate layers: a white foam forms on top as the water evaporates, milk solids begin to settle to bottom of pan, and the clarifying butter fat sits in between the two.

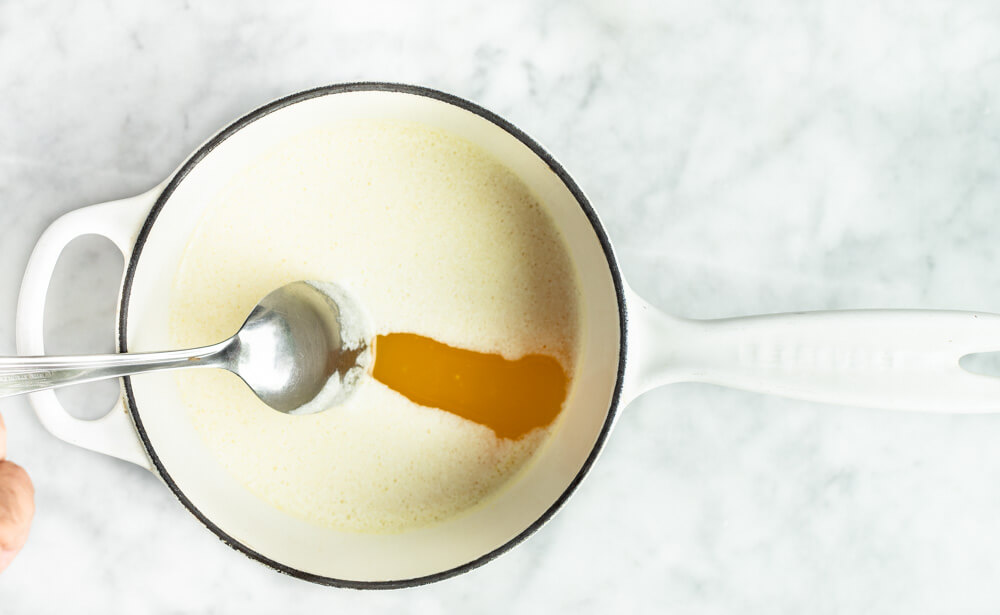
After about 20 minutes of simmering, skim off the top layer of white foam with a spoon and discard so you can see the more translucent layer underneath. You may need to repeat this a few times.
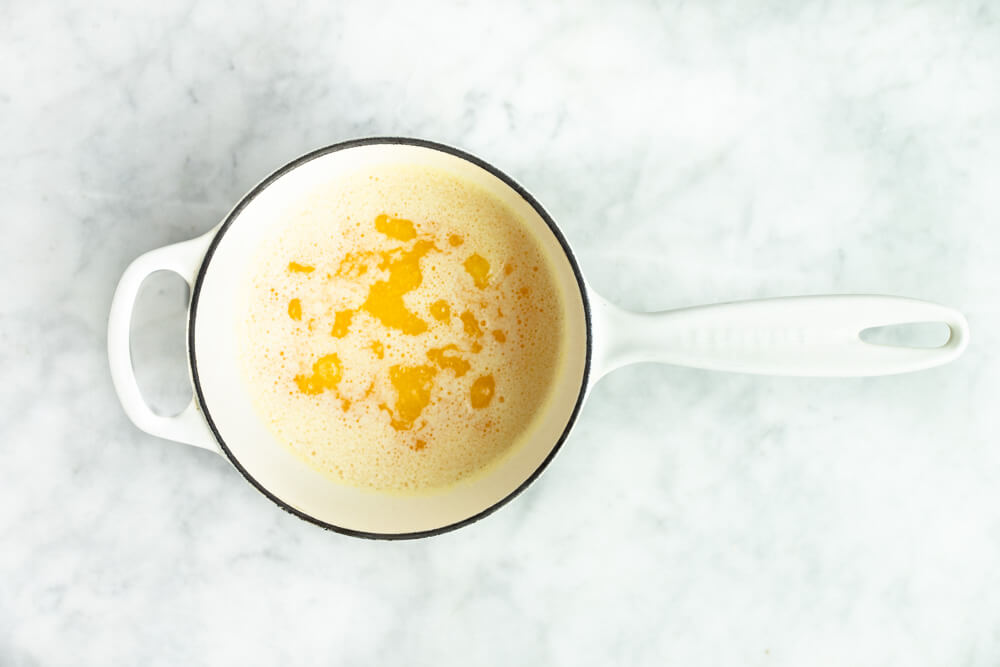
After skimming, allow the butter to continue to simmer for another 10-15 minutes, until the foam turns into clear bubbles and the middle layer becomes translucent.
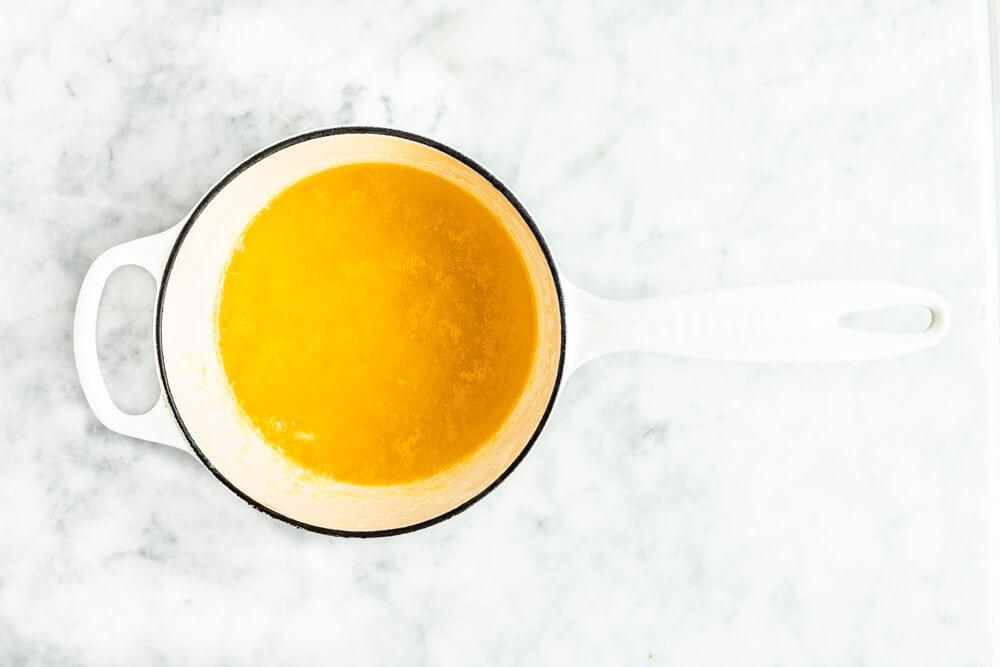
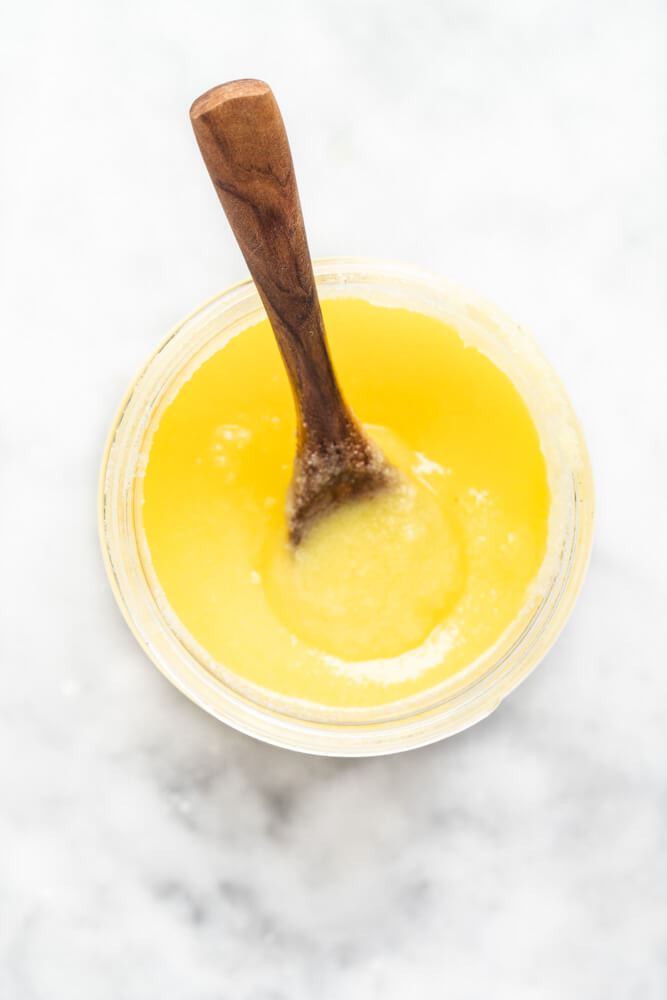
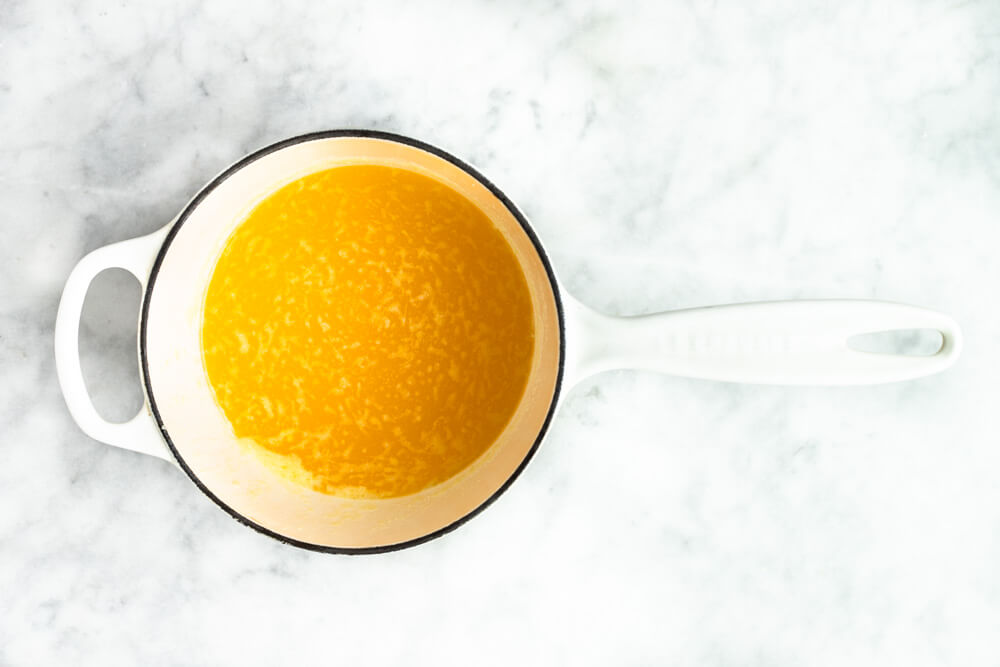
You will know the ghee is done once it is has a nutty fragrant aroma and is much more golden than when you started. You will also see the milk solids at the bottom of the pan begin to caramelize a bit.
You will notice that the milk solids in the bottom of my pot are just barely beginning to brown. This is the stage where I like to strain my ghee. For an even nuttier flavor, you can allow the milk solids to caramelize/brown a bit more if you prefer. Just be sure to let them burn as this will make your ghee bitter.
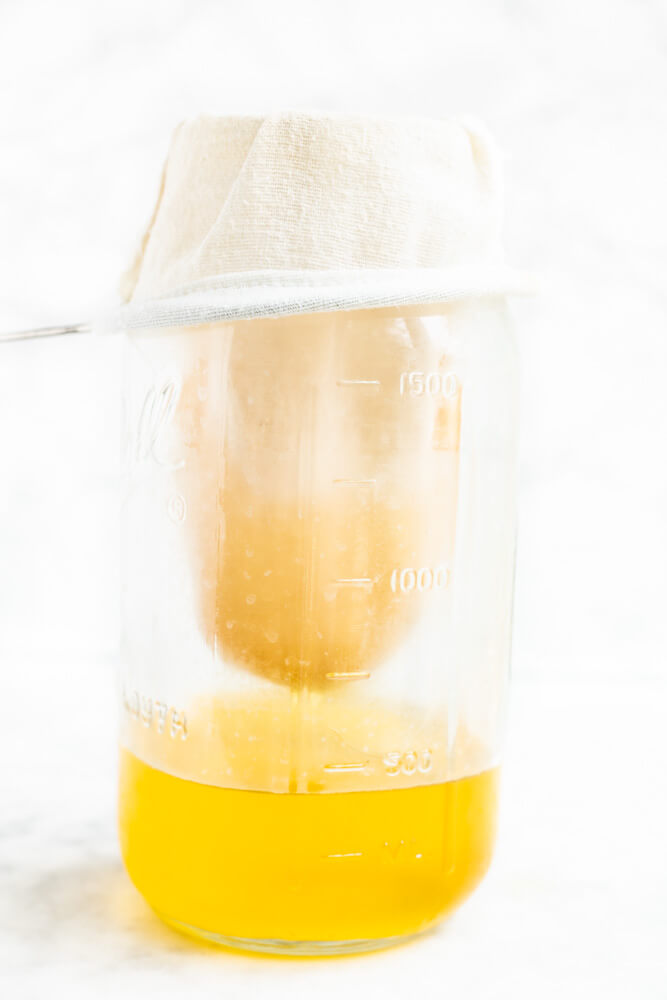
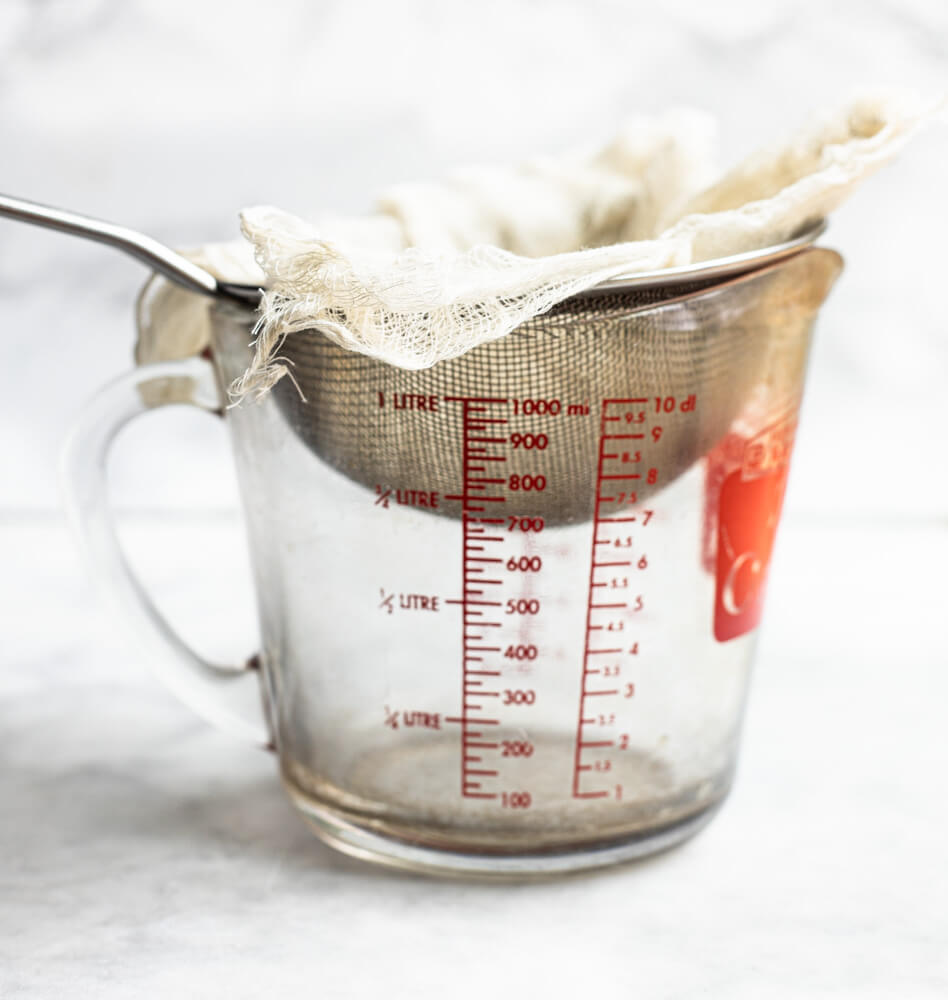
Carefully strain the ghee through a cotton muslin Thai iced tea filter or a fine-mesh strainer with at least a triple layer of cheesecloth inside it, discarding the milk solids left behind.
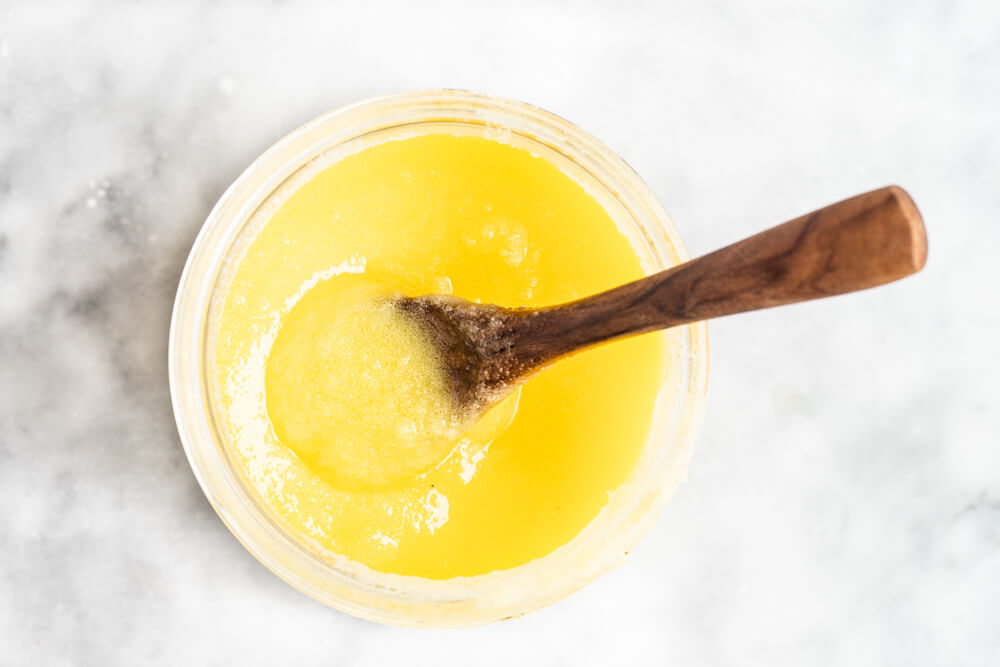
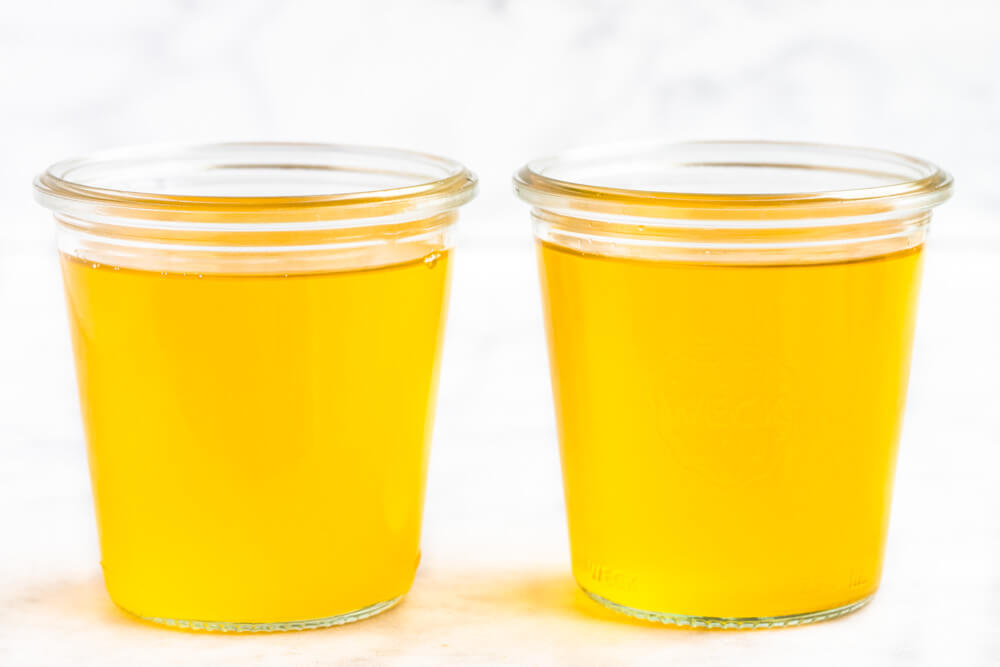
Store ghee in clean/dry glass jars. Ghee will naturally solidify at room temperature (and below).
Pro Tips
❤️ use the best quality butter you can find (organic, grass fed is BEST)
❤️ make sure all of your pots, jars, and lids are clean AND dry. Water content is one of the things we are trying to remove. Water in your ghee will make it spoil.
❤️ use a heavy bottom pot as this will help the heat disperse more evenly and keep the milk solids from burning. (I use enameled cast iron)
❤️ watch your heat. You want the butter to simmer but not boil too fast. No sputtering in the pot. Once you’ve done it a few times, you get the hang of it.
❤️ this recipe is for one pound of butter. The amount of time needed to cook the butter into ghee will depend on the amount of butter used, the water content in the butter used, and the thickness of the bottom of your pot.
❤️ allow ghee to cool completely in glass jars (uncovered) before placing lids on and storing in fridge. Covering while hot will create condensation and will add water content back into your ghee.
DID YOU MAKE THIS AND LOVE IT? I WANT TO SEE YOUR CREATIONS. SHARE THE LOVE ON INSTAGRAM AND TAG @savorylotus AND USE THE HASHTAG #savorylotus FOR A CHANCE TO BE FEATURED. FOLLOW SAVORY LOTUS ON PINTEREST AND FACEBOOK TO KEEP UP WITH LATEST CONTENT AND UPDATES.
Print
How to Make Ghee (step by step instructions)
- Yield: about 1 and 1/2 cups 1x
Ingredients
- 1 pound unsalted butter organic grass fed butter
Instructions
- Place butter into a clean/dry pot with a heavy bottom and place over medium heat. Allow butter to melt. Do not stir. Once butter melts and begins to boil and bubble, lower heat slightly to keep butter simmering but not sputtering in the pot.
- Pretty quickly, the butter will start to separate into three separate layers: a white foam forms on top as the water evaporates, milk solids begin to settle to bottom of pan, and the clarifying butter fat sits in between the two. After about 20 minutes of simmering, skim off the top layer of white foam with a spoon and discard so you can see the more translucent layer underneath. You may need to repeat this a few times.
- After skimming, allow the butter to continue to simmer for another 10-15 minutes, until the foam turns into clear bubbles and the middle layer becomes translucent. You will know the ghee is done once it is has a nutty fragrant aroma and is much more golden than when you started. You will also see the milk solids at the bottom of the pan. Do NOT let them burn. Remove from heat and allow to cool for a few minutes.
- Carefully strain the ghee through a fine-mesh strainer with at least a triple layer of cheesecloth inside it or a cotton muslin Thai iced tea filter, discarding the milk solids left behind. Store ghee in clean/dry glass jars. Ghee will naturally solidify at room temperature (and below).
- Storage: ghee can be kept out on the counter in a covered, air-tight glass jar for up to a month or in the fridge for up to a year.
Notes
allow ghee to cool completely in glass jars (uncovered) before placing lids on and storing in fridge. Covering while hot will create condensation and will add water content back into your ghee.
As an Amazon Associate I earn from qualifying purchases.
Please give temperatures.
Temperatures of what? I don’t measure temperature of ghee as it cooks. 🙂
I love ghee, but have never made it. Katya, you always go the extra mile and make kitchen chores seem so doable.
Thank you for sharing!
★★★★★
Awww… that’s so sweet of you to say. 🙂